

Head Chef 1 User Guide · Chapter 12
MIDI and instruments
This chapter helps you make music with Head Chef's built-in instruments. You add an instrument track, choose an instrument and a sound, write and edit notes in the piano roll, and play the instrument live from a midi keyboard or your Mac keyboard.
The built-in instruments #
Head Chef includes five instruments. They run inside Head Chef, so there is nothing extra to install.
| Instrument | What it is |
|---|---|
| Voltage 80 | A drum machine with a bank of analog-style drum voices and an accent. |
| Voltage 78 | A percussion machine with its own set of analog-style rhythm voices and an accent. |
| Substance | A monophonic synthesizer with two oscillators, a sub oscillator, noise, a filter, envelopes and modulation. It is at home on bass. |
| Octet | A polyphonic two-oscillator synthesizer with a multimode filter, envelopes and modulation, for pads, strings and keys. |
| Mini Bar | A collection of 25 playable sounds in seven families: Piano, Keys, Winds, FM, Organ, Pluck and Strings. |
Add an instrument track #
- Choose Add Instrument, then the instrument you want, for example Add Instrument > Mini Bar.
- Head Chef adds a track named after the instrument, selects it and opens the instrument's editor.
You can also choose Track > Add Track > Add Instrument Track and pick the instrument there. Each new instrument track holds one empty MIDI clip, ready for notes. To add tracks in other ways, see Tracks.
Choose a sound #
Every instrument comes with factory sounds.
- Select the instrument track.
- Click Inspector in the toolbar. On narrower windows the button shows ◧.
- Under SOUND, choose a sound from the list.
When you change any sound control, the list shows Custom. Choosing a factory sound again restores it exactly.
The instrument panel in the Inspector #
For an instrument track, the top of the Inspector under CHANNEL CONTROLS shows, from top to bottom:
- Channel preset…, with the name of the preset in use below it. See Mixing.
- INSTRUMENT: a button with the instrument's name, which opens its editor, and Change…, which swaps the instrument; see Change the instrument on a track.
- SOUND: the list of the instrument's factory sounds, or Custom after you change a control.
Below them, the Controls tab lists the instrument's controls. Click Quick for the main ones or All for every control. Each control shows its name and unit, for example Kick level / %: on and off controls are a button that reads On or Off, choices are a list, and numbers are a field. Type a number and press Return to apply it, or Esc to cancel.
| Instrument | Factory sounds | Quick controls |
|---|---|---|
| Voltage 80 | 8, starting with Reference Circuit | Kick level, kick decay, kick tuning, snare level, snare snappy and closed hi-hat level |
| Voltage 78 | 8, starting with Reference Circuit | Master level, balance, accent, snare snappy, noise level and an added guiro |
| Substance | 10, starting with Burgs | Filter cutoff, resonance and envelope amount, envelope attack and release, and output level |
| Octet | 10, starting with Copper Keys | Filter cutoff and resonance, amplifier envelope attack and release, stereo spread and output level |
| Mini Bar | 25, with Glass Keys as the default | Depends on the sound's family, for example Tone, Touch, Decay and Character for a piano |
Change the instrument on a track #
You can swap the instrument on a track and keep everything else.
- Select the track and open the Inspector.
- Under INSTRUMENT, click Change…. In a Mix strip, click ▾ next to the instrument name.
- In the Change instrument dialog, choose an instrument and click Change instrument.
The track keeps its notes, its Chicken Strip settings, its effects, its sends and its fader. The new instrument starts with its default sound. Edit > Undo brings the previous instrument back.
Open an instrument's editor #
Click the button with the instrument's name under INSTRUMENT in the Inspector, or in a Mix strip. Voltage 80, Substance and Octet open their original bitsnacks panels. Mini Bar opens its own panel. For more about these panels, see Plugins.
Browse and shape Mini Bar sounds #
Mini Bar is Head Chef's keyboard instrument, with pianos, electric keys, FM sounds, organs, winds, plucked strings and string sections.
- Open the Mini Bar panel from the instrument button.
- Step through sounds with the previous and next arrows, or type in Find a sound to search.
- Click EDIT to shape the current sound, and All controls to see every control.
- Click DONE to return to the main panel.
When Tine and Reed use matching voice limits, MIDI channels and sustain settings, switching between them blends the notes you are holding into the new sound. The software keyboard stays on while you browse. For other sounds, release the keys before changing sound, then play a fresh note.
OUT sets the instrument's output level before the channel's processing and fader.
The Mini Bar panel at a glance #
The Mini Bar panel opens in its own window. ⌘W or Close closes it.
- Sound list, on the left: Find a sound searches by name, family or texture, and × clears the search. The list is grouped by family under SOUNDS; click a family's arrow to open or close it. When nothing matches, the list shows No sounds found. and a Clear search button.
- Sound display: the family and number, the sound's name and a one-line description, with the previous and next arrows. A small amber dot shows that you have changed the sound.
- Knobs: up to four main controls for the sound's family, with their values below them.
- Effects: TREMOLO, CHORUS and ROOM, each with a lamp that turns it on or off and a knob for its amount. Click an effect's name for its settings. An effect the sound's family does not use is dimmed.
- Output: the OUT knob and a level meter. The meter shows the instrument's level before the channel's processing and fader.
- Keyboard: the on-screen keyboard and Play keyboard; see Play from your Mac keyboard.
- MIDI: chooses a MIDI keyboard for this panel, with Disconnect input and Refresh MIDI inputs.
The sounds, by family:
| Family | Sounds |
|---|---|
| Piano | Rounded Grand, Studio Grand |
| Keys | Tine, Reed, Clavinet, Electric Grand |
| Winds | Trumpet, Saxophone, Flute, Pan Pipes, Harmonica |
| FM | Glass Keys, Soft Bell, Mallet, Rubber Bass, Digital Brass, Air Pad, Arcade Kit, Digital Kit |
| Organ | Drawbar, Gospel, Combo |
| Pluck | Nylon Guitar, Steel Guitar |
| Strings | Small Section, Broad Section, Low Strings |
Arcade Kit and Digital Kit are drum kits. Each key plays its own drum instead of a pitch, in the usual drum layout: kick on C2, snare on D2, hi-hats on F♯2, G♯2 and A♯2, toms from F2 to D3, crash on C♯3 and ride on D♯3. A closed or pedal hi-hat cuts a ringing open hi-hat, and a drum rings out however briefly you press its key. Arcade Kit repeats its drums two octaves higher, so its kick is also on C4 and the on-screen keys play the whole kit. Digital Kit adds tuned percussion you play as notes: timpani from C1, log drum from C4 and steel drum from C5. With Play keyboard on, press Z twice to move your Mac keyboard down to the drums on C2. The four main knobs shape the whole kit from the next hit, and EDIT shows how strongly velocity brightens a hit.
EDIT opens the sound's controls in groups, such as the hammers, strings and body of a piano or the drawbars, percussion and rotary speaker of an organ. All controls lists every control, and Back to Edit returns. Type a value and press Return to apply it, or Esc to cancel. FM sounds add an envelope page for each operator. Wind sounds play in Mono, Poly8 or Poly16, and Legato joins notes in Mono.
Edit notes in the piano roll #
Open the piano roll in any of these ways:
- Click Edit notes in the instrument track's header, including when it has no notes yet.
- Double-click an instrument track's lane in Arrange.
- Click Editor in the toolbar to show the region editor, then click Piano Roll.
- Choose Window > Region Editor Window, or click + Region Ed in the toolbar, with an instrument track selected. The window follows the track you select.
In the main window, the piano roll opens along the bottom of the window. Click Close to close it.
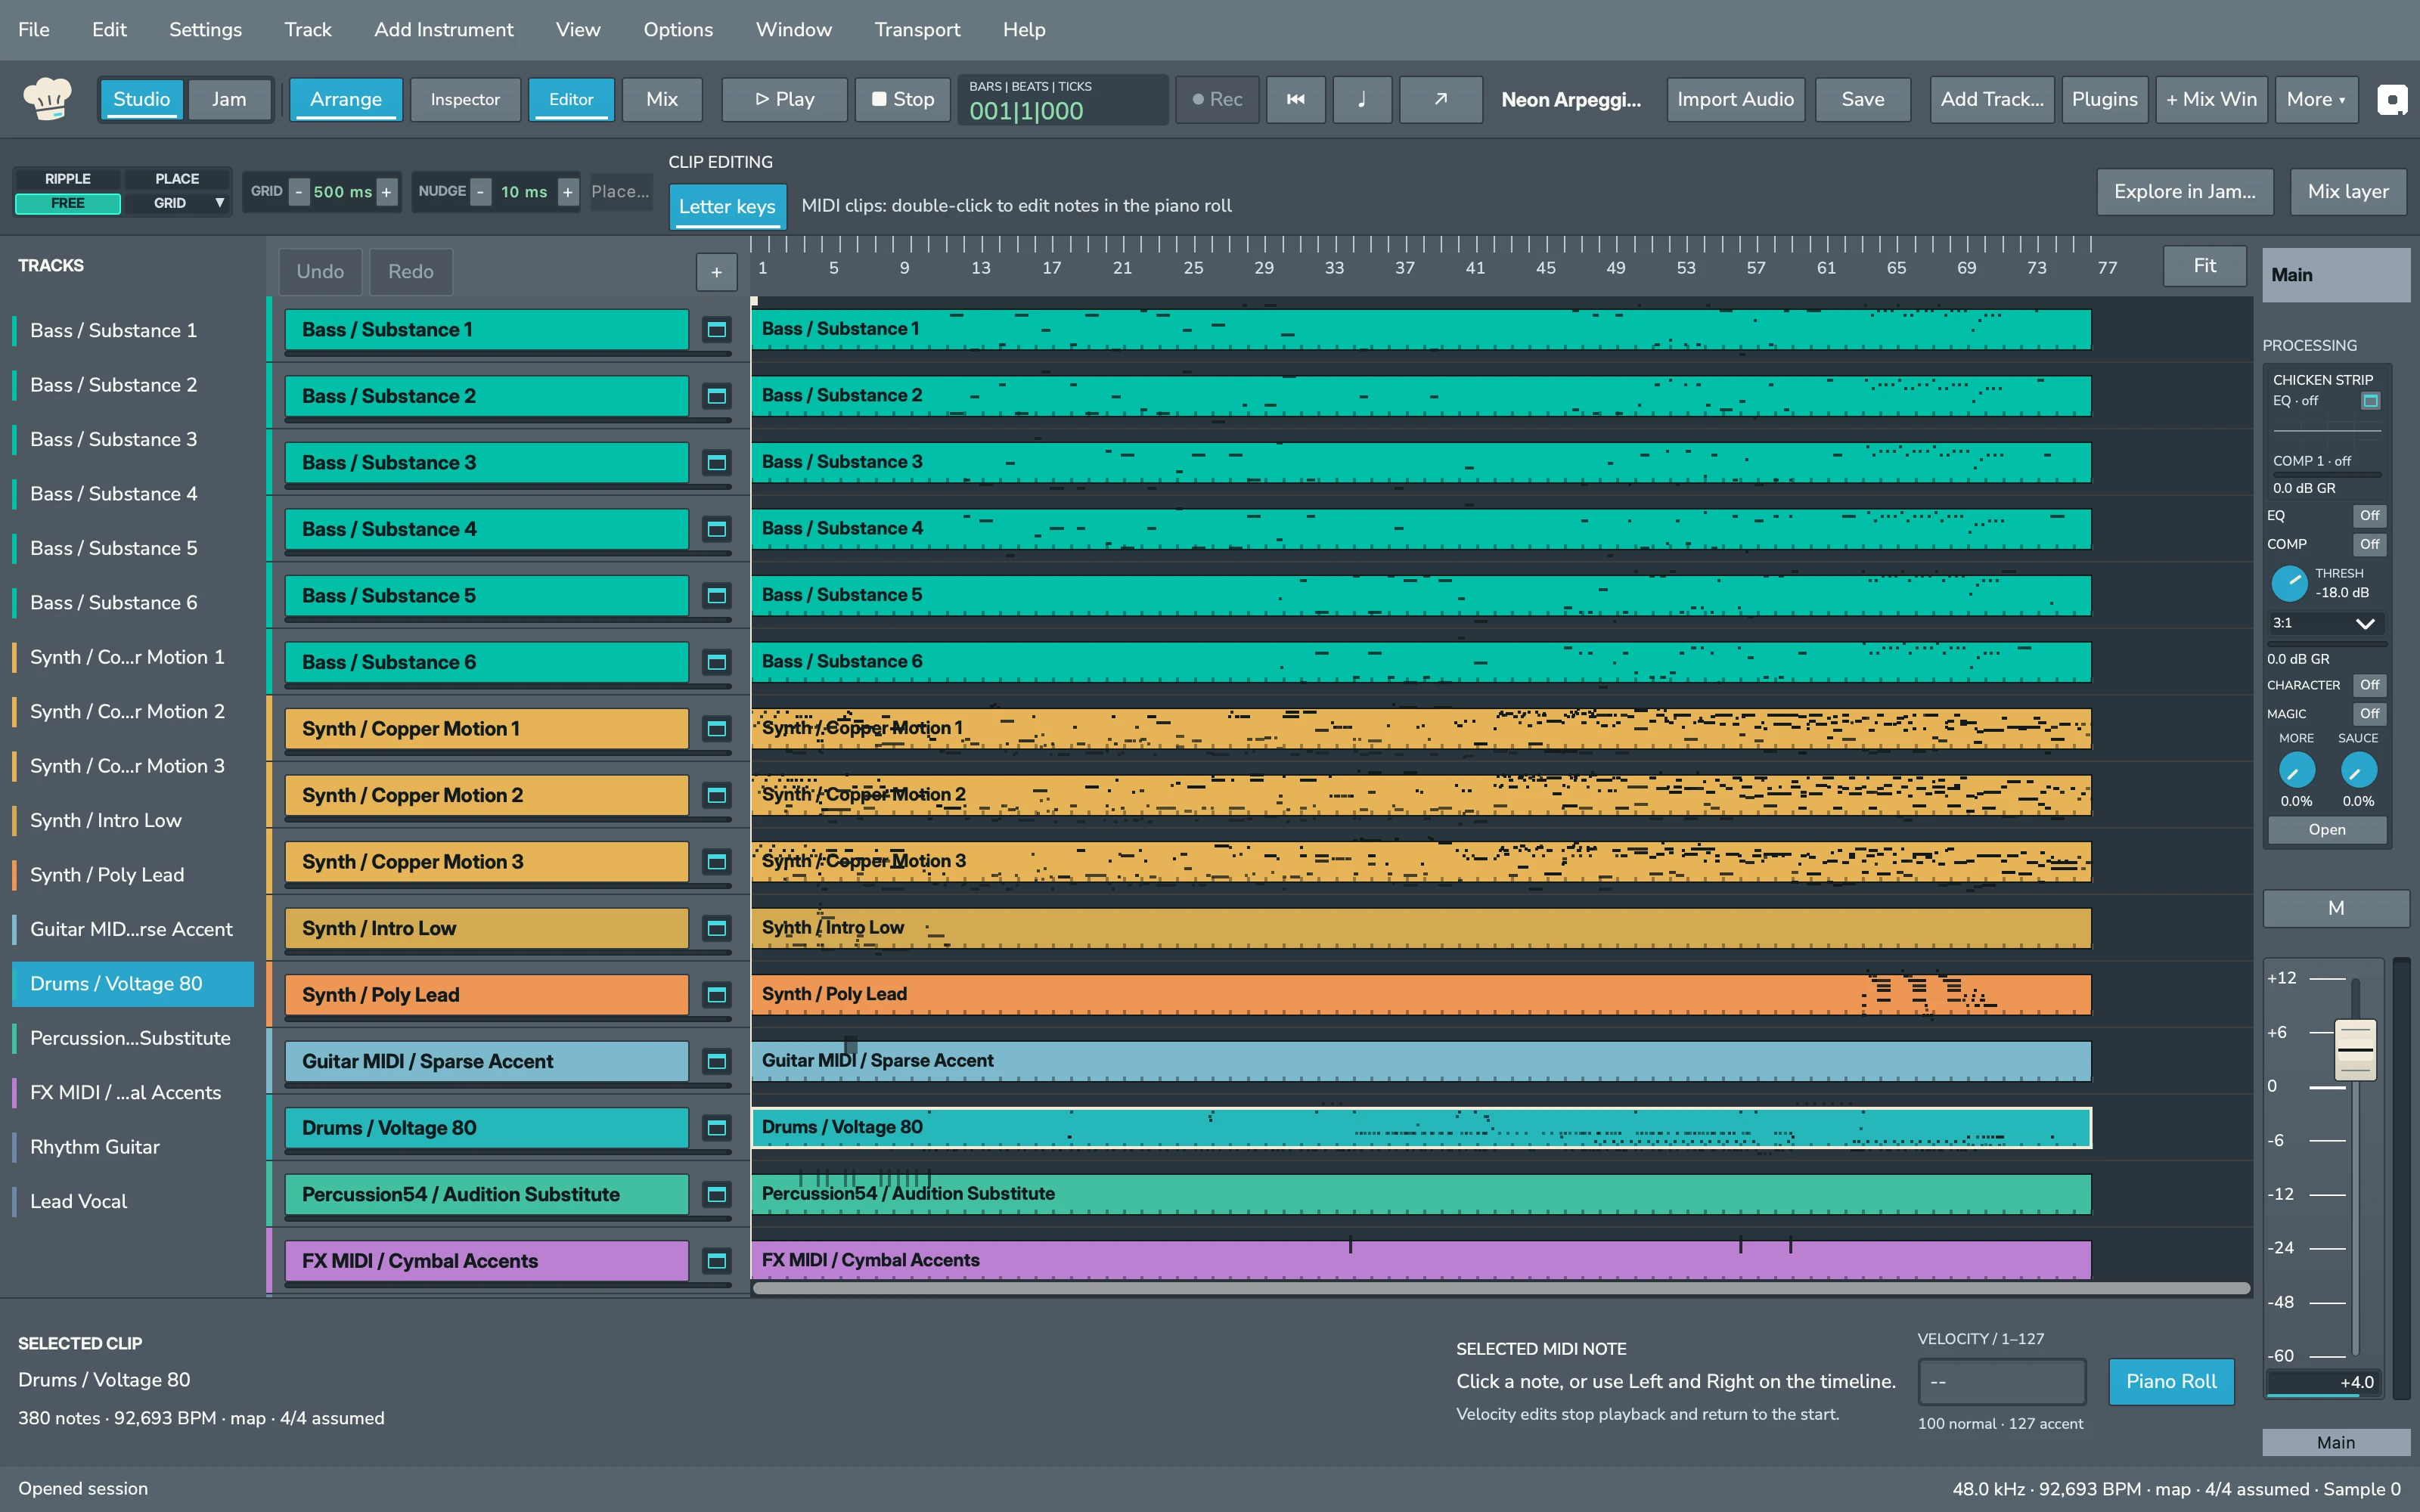
The piano roll at a glance #
From top to bottom, the piano roll shows:
- The header: PIANO ROLL, the clip name, the number of notes in a wide window, and Close.
- The toolbar: the Select, Draw and Erase tools, Length, the Snap list, Zoom and Fit.
- The ruler, with bar numbers counted from the start of the session. The corner above the keys reads KEY.
- The keys and the note grid. All 128 MIDI keys are listed, from C-1 at the bottom to G9 at the top, each with its name; C4 is middle C (key 60). Black-key rows are darker, and a brighter line marks each C.
- The note fields for the selected note, and Delete note.
- A help line: Double-click to add · Drag to move · Drag right edge to resize · Delete to remove · Q to quantize. While you drag it reads Escape cancels · Release to keep the edit, and when Head Chef refuses an edit it shows the reason in amber.
Each note is a colored bar. Its color follows its velocity: loud notes are red and orange, softer notes shift toward green, and a light strip along the bottom of the note grows with the velocity. The selected note has a light outline. While the session plays, a line shows the playhead.
Tools and snap #
| Tool | Click on an empty place | Click on a note |
|---|---|---|
| Select | Clears the selection | Selects the note |
| Draw | Adds a note; drag straight away to set its length | Selects the note |
| Erase | Nothing | Deletes the note |
Select is the tool when the piano roll opens. In every tool except Erase, double-clicking an empty place adds a note.
The Snap list sets the grid that new notes, moves, resizes and quantize use: 1/4, 1/8, 1/16 (the starting value), 1/32 or Off. Head Chef counts 960 ticks per quarter note, so the steps are 960, 480, 240 and 120 ticks; with Off, notes move by single ticks. The grid lines in the note area follow the snap value and thin out when you zoom out. Snap returns to 1/16 each time the piano roll opens.
Zoom opens Zoom In and Zoom Out; ⌘] and ⌘[ do the same while the note grid has focus. Fit shows the notes you have written, at least eight beats, and centers them vertically. You can also scroll to move through the keys, hold ⇧ and scroll to move through time, hold ⌥ and scroll to zoom, or pinch on a trackpad.
Add, move, resize and delete notes #
- To add a note, double-click an empty place, or click with Draw. The note starts on the snap grid, lasts one snap step and has velocity 100. It goes on MIDI channel 1, or channel 10 on Voltage 80 and Voltage 78.
- To move a note, drag it. It moves in time by whole snap steps from where it was, and up and down by semitones.
- To change its length, drag its right edge. The pointer changes to a resize arrow near the edge, and the end snaps to the grid.
- To delete it, select it and press Delete, click Delete note, or click it with Erase.
You work on one note at a time: Head Chef 1 has no multiple note selection and no resizing from the left edge.
With a note selected, you can also use the keyboard. Q is the key to quantize a note, which lines it up with the snap grid.
| Key | Action |
|---|---|
| ↑ and ↓ | Move the note up or down by a semitone. |
| ← and → | Move the note earlier or later by one snap step. |
| ⇧← and ⇧→ | Make the note shorter or longer by one snap step. |
| Q | Quantize the note's start to the snap setting. Its length stays the same, and with Snap Off the key does nothing. |
| Delete | Delete the note. |
| Esc | Cancel a drag in progress. |
Type note values #
The fields below the grid show the selected note. Type a new value and press Return to apply it; press Esc or click elsewhere to discard it. With no note selected, they show --.
| Field | What it sets | Values |
|---|---|---|
| PITCH / MIDI KEY | The key, as a MIDI note number | 0 to 127; 60 is C4 |
| VELOCITY | How hard the note is played | 1 to 127 |
| POSITION / TICKS | Where the note starts, counted from the start of the clip | 0 and up |
| LENGTH / TICKS | How long the note lasts | 1 and up |
| MIDI CHANNEL | The midi channel | 1 to 16 |
Use Zoom and Fit to change the view. Click Close when you are done.
Change the clip length #
A new instrument track starts with an eight-bar clip. You can lengthen a clip after writing notes, for example to make a 64-bar part.
- In the piano roll toolbar, click Length.
- In MIDI clip length, enter a whole number of Bars, using the song's current meter.
- Click Apply, or press Return. Head Chef shows the complete clip so you can write beyond its old edge.
The clip keeps its notes and sound settings. Extending beyond the song's end also extends the song range. Shortening a clip keeps the song range and refuses a length that would cut off a note; move or shorten that note first. Cancel or Esc leaves the clip unchanged. Edit > Undo restores the previous clip and song lengths together.
A clip imported with a partial bar shows its exact current length. Enter a whole-bar length to change it. Length edits stop playback and return to the start, just like note edits.
Notes and the clip edges #
An instrument track holds one MIDI clip, and notes must start and end inside it. The clip does not grow automatically when you add notes near its end; use Length to extend it first. When you drag, a note stops at the clip's edges. A key or a typed value that would put a note outside the clip, or give it no length, is refused, and the help line shows MIDI notes need a key from 0 to 127, velocity from 1 to 127, channel from 0 to 15, and a positive duration inside their clip. A click at or after the clip end adds no note.
A clip holds up to 2048 notes, and a session up to 16,384. Every note edit is one step in Edit > Undo, and editing notes stops playback and returns to the start.
Set velocity #
Velocity is how hard a note is played, from 1 to 127. New notes start at 100. Change it in the VELOCITY field of the piano roll, or select a note in Arrange and type in VELOCITY / 1–127 in the region editor. In Arrange, with an instrument track selected, ← and → step through its notes.
Play from a MIDI keyboard #
Head Chef connects MIDI keyboards automatically. You can plug one in while Head Chef is running.
- Connect your keyboard to your Mac.
- Select an instrument track.
- Play. While you hold keys, the MIDI button in the toolbar shows the note you are playing.
Live playing sounds the instrument. To add notes to the track, use the piano roll.
Click MIDI in the toolbar to open the keyboard settings. On narrow windows, it is under More ▾ > MIDI Keyboard….
- ON and OFF turn keyboard input on or off.
- The panel shows Plays Selected Track with the track that receives your notes.
- Keyboard Source chooses All Connected Keyboards (Auto) or one keyboard.
- MIDI Channel chooses All Channels (Omni) or one midi channel from 1 to 16.
- Refresh Ports looks for newly connected keyboards.
- All Notes Off silences any stuck notes.
Your sustain pedal works with every built-in instrument.
Play from your Mac keyboard #
The Mini Bar panel has an on-screen keyboard of three octaves, from C3 to B5. Click a key to play it, or keep the mouse button down and glide across white and black keys. Moving outside the keys releases the mouse note; moving back while still holding the button plays the key under the pointer. Release the mouse button to stop.
To play from your Mac keyboard:
- Open the Mini Bar panel.
- Click Play keyboard. The button reads KEYBOARD ON while the keyboard is playing.
- Press the keys A W S E D F T G Y H U J K to play thirteen chromatic notes, initially from C4 up to C5. Use these keys without ⌘, ⇧ or other modifiers. Notes play at a fixed velocity of 104.
- Press Z or X to shift down or up an octave, or use the controls beside the range readout. Ranges run from C-1 to C0 through C8 to C9.
- Press Esc to release the keyboard.
Changing octaves keeps any note you are already holding at its original pitch until you release it. Your next press uses the new octave. The octave setting applies to the Mac keyboard; the on-screen keys keep their C3 to B5 range. It does not edit your song or add an Undo step. Search boxes and other text fields keep normal typing.
The Substance panel also has an on-screen keyboard you can click to hear the sound.
Preparing playback #
Some synthesizer parts need a moment of preparation before they can play. When you press Play, the status line at the bottom of the window may show Preparing playback… with a percentage, and playback starts when it finishes. Click Cancel to stop waiting.
Open a MIDI file #
To bring in a Standard MIDI File, choose File > Open Session… and pick a .mid file, or drag it onto Arrange. Head Chef opens it as a session. For more, see Importing.
Tips #
- New drum notes on Voltage 80 and Voltage 78 go on MIDI channel 10, the usual drum channel.
- Every note edit is one step in Edit > Undo.
- Use Mixing to add Chicken Strip settings, effects and sends to your instrument tracks.